 |
| Bunny Bounce - Pear Cider Edition |
Recently the Dragon and I forayed into a new realm – cider brewing. He used to brew beer in a keg in his cupboard at college years ago (classy I know – can you imagine the smell?) and I got my first Home Brew kit last year. I didn’t want it to be a yucky eye sore, so I got a white and wood country-kitchen looking table from the shops (about $30 I think) and assembled it to make a very girlie keg zone. I also got a pink white and green stripey bucket to go with it – its a pretty cute set-up. Or at least it will be once we finish renovating the garage where we house it.
In total, we spent about $33.50 on the cider mix and the dextrose, which made 30 litres. So that works out at about $3.35 a litre. A quick google search showed me that carton of 24 x 330ml Monteith's pear cider (my favourite pear cider) sells for about $65. A carton = 7.9 L appprox. Given that this batch made just shy of 4 x that amount, I'm pretty happy with the cost.
Neither of us has done ciders before so it sounded like a fun challenge. We have collected a bunch of adorable green beer bottles in the shape of buddha which we will be using. See below for a review of our experience.
The making of Bunny Bounce – Pear Edition
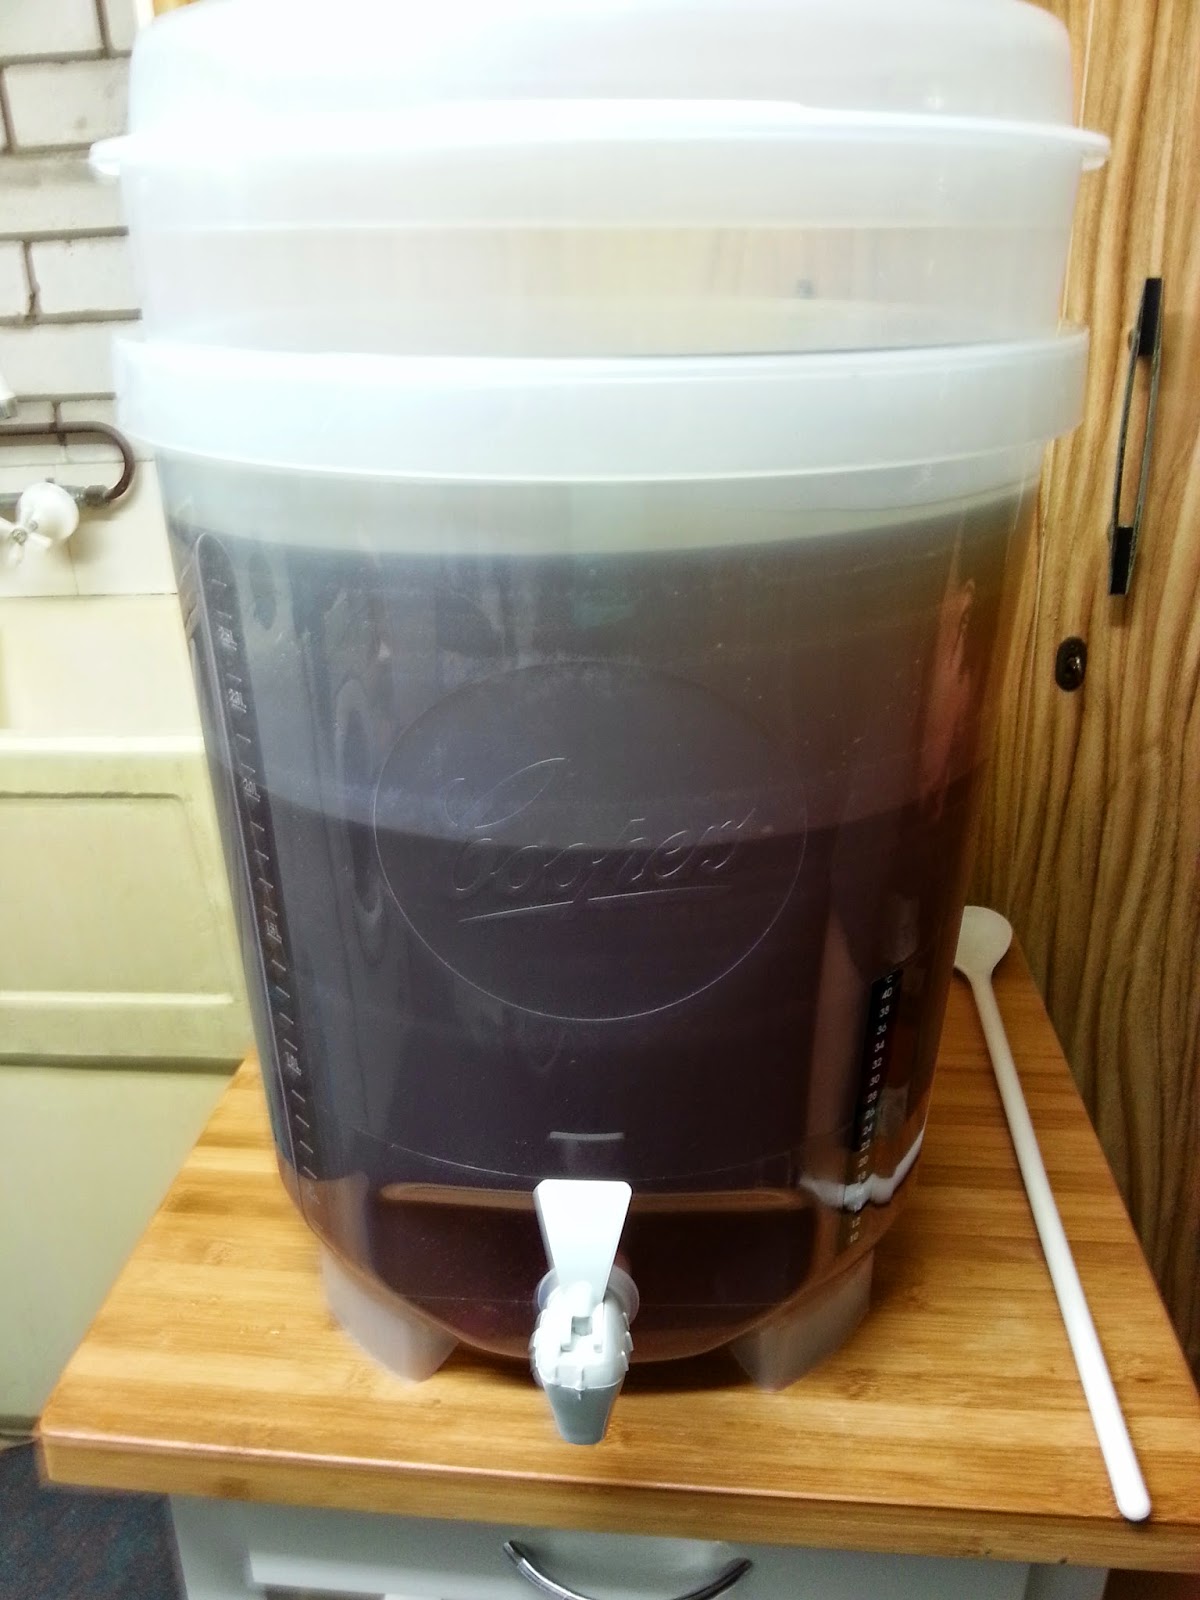
After sterilising the keg and everything else which will make contact with the cider, the first step was to pour in the syrup. We used the Craft Series Pear Cider. I was surprised to see how black it was. |
| The Dragon adding the syrup to the keg. The syrup was black! I did not expect the molasses colour. Please excuse the mid-renovation background |

After this was 3 litres of hot and 27 litres of tap water. Look how much it made!
 |
| Stirring the Brew. |
The cider kit we purchased came with a packet of cider yeast, a sweetener with instructions on how much to add for dry, medium or sweet cider, and a packet of pear flavouring.
 |
| Additions |
The yeast and however much sweetener you want to add is then poured on top and stirred. This is different from ginger beer or normal beer, in which you usually leave the yeast sitting on top. Unusual but we followed the directions given that it is our first time. We went for a dry cider this time around.
 |
| The Dragon stirring the pot. Weird but going with it. |
We then put the collar and lid on, sealed it tightly for 2 days then removed the collar, re-lidded it and let it sit for 6 days as instructed. During this time, the yeast eats the dextrose (sugar) and creates alcohol as a by-product. Eventually, the brew reaches a level of alcohol which kills the yeast. So technically the yeast die of alcohol poisoning I guess…how morbid.
This is why brewed beverages like cider and beer tend not to exceed an alcohol percentage of about 9%. The process occurs over about a week. There are formulas to calculate the alcohol percentage using readings taken the day it is made (the Original Gravity) and the day it is bottled (the Specific Gravity). Here is a site which will calculate it for you.
 |
Ready for fermentation. What a pleasant sounding process.
|
After six days we added the pear flavouring (smelled delicious) and stirred it through, ready to leave for 24 hours before bottling. If we had read the instructions properly we would have planned this better because we thought it was ready for flavouring and bottling same day so were ready for this on Sunday. Instead bottling had to happen on Monday night after a long day at work and a heavy gym session. So a bit less fun than a lazy afternoon bottling session.
It made a crazy amount. Check it out. It made 2 3/4 boxes like this :)
 |
| Bottled and ready to store for a few weeks |
Our Take Aways
We were really quite happy with the outcome! We disagreed with the recommended 2 week minimum for bottling - this is way too short. We thought so but tried one anyway at 2 weeks and it was simply awful. It tasted like amateur hour cheap home brew. They were good after about 4 weeks, and even better as they aged in the bottles. I'd recommend waiting at least 6 weeks, ideally.
When ready they are a dark yellow colour, not the molasses colour they were in the keg. The ones bottled first taste better than the ones bottled towards the end of the keg (of course) so if you make them, ensure that you offer the first-bottled-ones to guests and keep the last-bottled ones for yourself. They are distinctly pear flavoured, which is less strong than apple. I am really enjoying them, and given how much it made, should be set for quite some time yet!
This was our first time making cider. Any tips?
No comments:
Post a Comment